A successful custom design of an electrical control panel starts with providing clear and complete project information. The more complete the information given in the early stage, the better the resulting electrical control panel will fit the needs.
1. Define system functions
First, determine which equipment the electrical control panel needs to control, monitor, or protect. Listing the number of devices and their operating sequence helps determine the control panel’s layout and internal configuration.
2. Reasonable power distribution layout
The internal layout must ensure that power is delivered safely and smoothly from the input power source to every connected device. This includes arranging the power interface, circuit protection devices, and load distribution paths in an orderly manner.
3. Select appropriate electrical components
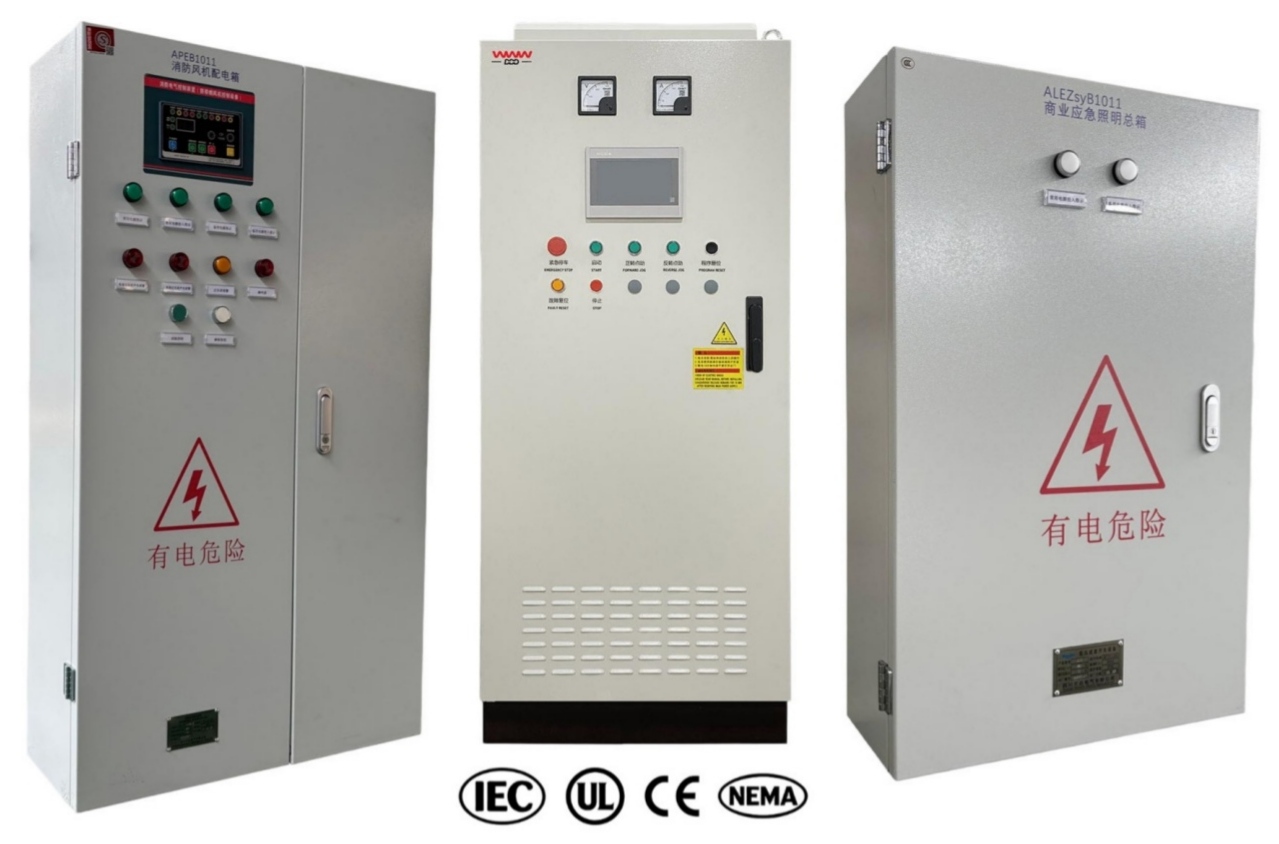
Choosing the right components ensures reliable performance. Custom control panels typically use switchgear, protection devices, monitoring instruments, and control units. In many industrial applications, digital or multi‑function meters are also used to monitor electrical parameters; if backup power is needed, an automatic transfer switch may be added. Select electrical components based on the system’s load conditions, operating environment, and service life.
4. Reserve adequate space for wiring and future expansion
When designing a custom control panel, it is essential to leave space for neat wiring, to reduce stress at connection points, to improve internal air circulation, and to simplify installation and future modifications.
5. Ease of maintenance and troubleshooting
A well‑laid‑out control panel allows technicians to easily inspect components, wiring, and replace parts. Providing clear access paths and sufficient working space greatly improves maintenance efficiency.